


Regular readers will have noticed that we are working hard at ‘pimping’ the office. The entire listening room is being rebuild with the primary goal of getting the acoustics (even) better and also getting the noise floor down. Now we regularly hear some traffic. And that is inconvenient in our line of work. In this update we go through the past period. Then you know what the status is.
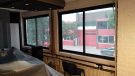
The listening room at Alpha Audio was certainly not bad. In fact, it sounded very pleasant. However, there was one thing that really bothered us: traffic. A lot of cars and trucks were passing by. And that made us sometimes have to play louder than is pleasant or good for the ears. And it also disturbs the sampling process, which plays a central role in our reviews. In short: we need to isolate.
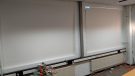
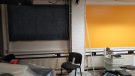
In our listening room there are four large (but old) windows that are not very sound proof. We can make the biggest impact by isolating these. After consulting with the owner of the building, we can get to work. It has to look good on the outside as well, so we first place a white piece of wood, then insulation and then the inner piece of wood.
The dimensions are substantial: about 1.55 x 2.07 meters. So we are insulating roughly 12m2. So we are talking about a lot of wood and insulation material. The white panel is 9mm chipboard and the inner one (orange) is 18mm. The latter is really heavy. In short: a job for two people to put it in.
A second and third job that we don’t have to do ourselves is replacing all the electrical outlets along the edges and the air conditioning. The electrics no longer fully comply with the NEN requirements. And the air conditioning in the entire building will be renewed. Now we are discussing placing an adjustable and silent unit in the listening room. Otherwise the insulation would be useless.
Preparation
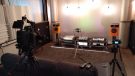


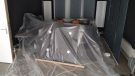
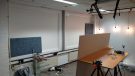
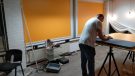
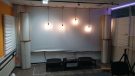
To prepare the whole thing, we empty the room and cover everything that we can’t move to another room. We don’t have infinite space, unfortunately. Since we’re going to do everything at once, we’re also going to remove acoustical treatment on the ceiling and corners to come up with a better solution for that. The parts on the ceiling were actually not allowed either, because they were in the way of the sprinklers. In short: we are going to come up with something else for that. Perhaps diffusion and on the cinema side bass traps in the corners.


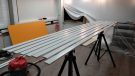
The wood was delivered mostly cut to size. But as always: it all just doesn’t fit, because the walls are not straight. Not too bad, because some corners had to be taken out here and there anyway. In short: we cut the outer parts and place our stickers so that we can also ‘mark our spot’ on the street side… The office is also easier to find for visitors.
When the four plates are cut to size and stickered, we can check the insulation and see if our measurements are correct: there should be about 2cm left for the big, thick front plate… luckily it’s right! Time for some painting for the frames that will hold it all in place!
Placement

Now comes the hard work: sawing everything to size and making sure those heavy bits fit neatly. And then, of course, determining whether the desired effect has been achieved!
The thick plates also need to be sawn to size. But that goes fast with a circular saw. Disadvantage: it is one dusty mess after sawing this stuff. Fortunately, everything is well covered and afterwards the plastic cover with sawdust can be removed. We have continuously used the vacuum cleaner in between to remove the dust. Otherwise, at the end of the day we have dusty lungs.
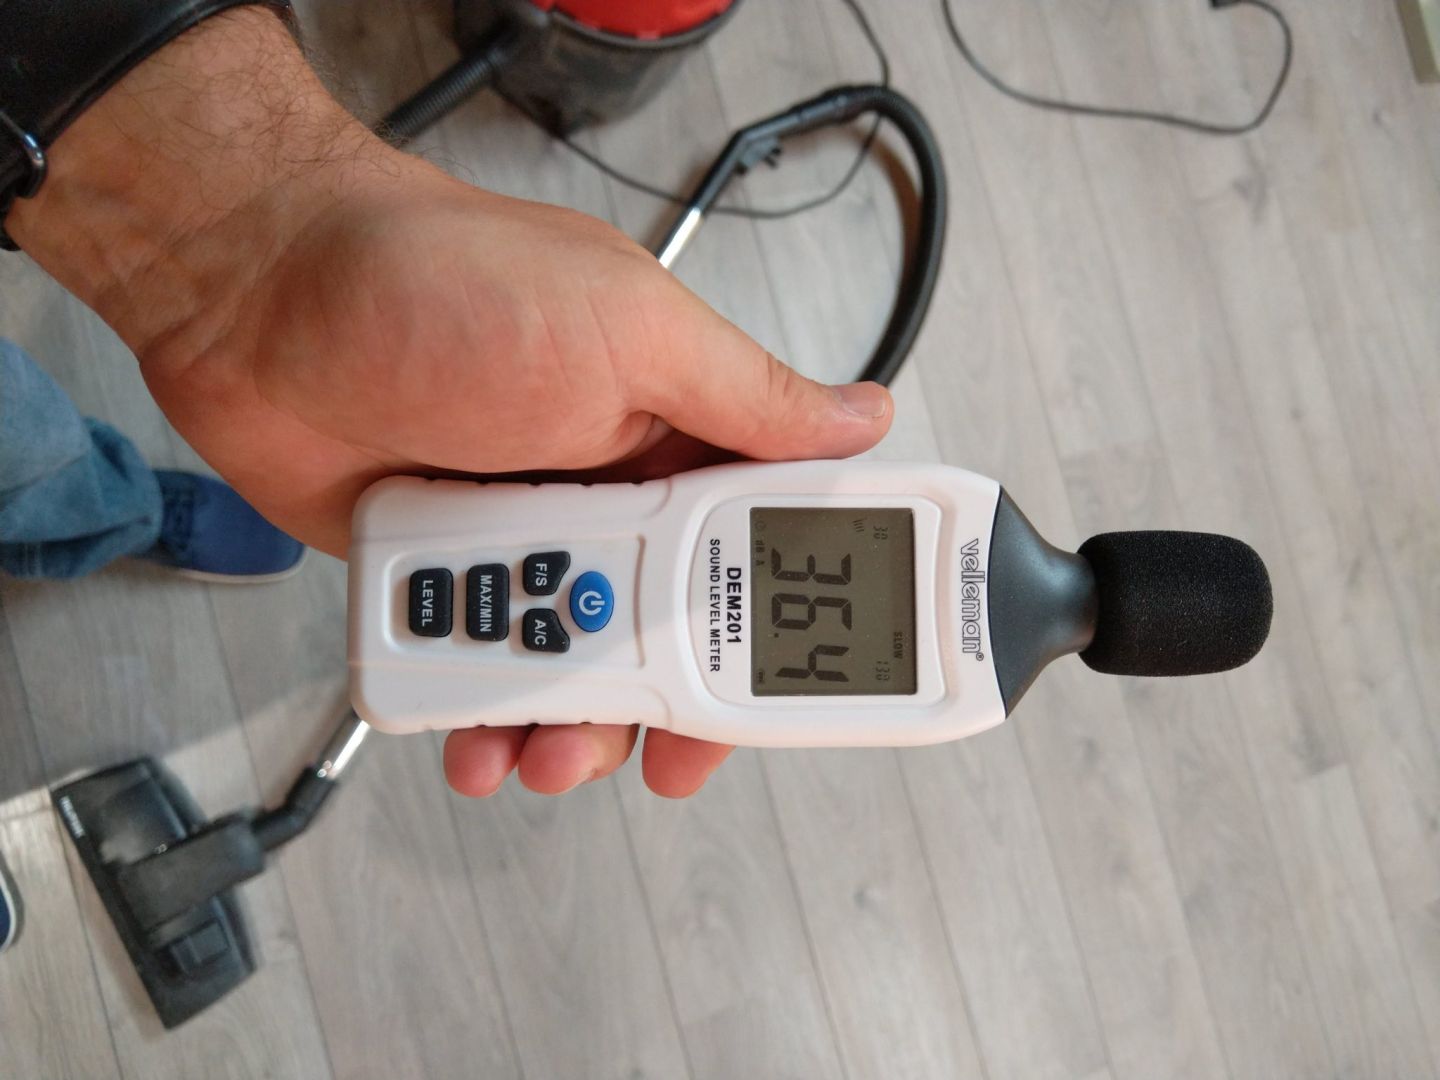
It was all in all a full day’s work to put everything in neatly. But the result is worth it. Not only does it look neat: it also works! The noise floor went from roughly 42 to 36. That’s 6dB off. The nice thing, though, is that we got rid of the traffic noise. And that trucks have become nothing more than a low, soft hum as they thunder past. Before the isolation, that really messed up the music.
 In short: mission one is accomplished! And while we’re at it… let’s go straight ahead. The space is empty anyway. We strip everything we don’t like and rebuild it. From the leftover wood we make a new anchor plate for the projector and we place two built-in speakers in the workspace. We used a Sonos AMP with a Sonos Sub on it. Great for working, because the in-ceiling speakers spread better and play less intrusively, which is nice while working.
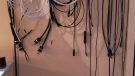


We also tackle the cable management system, making it look less cluttered. In particular, we couldn’t really get rid of the speaker and power cables comfortably. That is now solved with some hangers for ladles (IKEA) and a coat rack (Gamma) that we screwed to the wall. We have not been able to find a real system, but this works very well.
Finally, we ordered new diffusers from Vicoustic. The new plates isolate perfectly, but we also immediately have large reflective surfaces. And that in turn causes flutter. In short: we have to diffuse to get rid of the flutter. So we place diffusers on both sides. We already have about fourteen diffusers, but that’s not enough, since about six are already hanging from the ceiling on the first reflection. There will be six on the right side. In short: additional diffusers are needed.
The models from Vicoustic are nicely made and the grey fits well with the orange. After placing the diffusers we immediately hear an enormous improvement: the flutter is gone and the balance is largely back. Now we only have to make the bass trap. But that can only be done when the electrics are done. The connection points behind the system are being renewed. We are going to make something temporary that can be removed when they need to get started.
Dots on the ‘i’
Of course, the space isn’t ready yet. But the first results are starting to show. And we are very happy with that. Now it’s just a matter of creating the right atmosphere and dotting the ‘i’s’ with the acoustics.
This means that we have to take new measurements, listen critically and adjust if necessary. It will take another week or two before we can take a break. But that’s not a bad thing. If you want to move forward, you have to roll up your sleeves.
What we haven’t talked about yet, by the way, is a modification so that filming and live streaming is more easy. We are looking at how to mount cameras, lights and microphones more efficiently. We are not allowed to mount stuff from the ceiling for fire safety reasons. In short: it’s going to be a bit of a puzzle with the position of the suspension systems and managing the cables. .
Review flow
Despite the renovation we are trying to keep the review flow going. Of course we have chosen the summer / vacation period for a reason. However, we do try to provide you with interesting reviews. Also during your vacation.
Sound sampling is not possible right now, but the positive side is that in a week or two / three you can expect even better results. Then we will be ready to start again and the new microphone-set-up will be ready and adjusted. We wish you a wonderful summer!
I happened to buy the same Vicoustic “cityscape” 3D diffuser, and, like you, am impressed with the improved soundstage. However, my most important room correction is actually DSP filters from homeaudiofidelity.com which require that I make sweep recordings around the listening position using REW and a calibrated microphone. Well worth the effort!