
It’s not easy for everyone to install Roon Rock on a NUC. That’s why we thought: let’s have a live broadcast. That way we can help people on their way. Last Thursday we held the Live Stream. Not everything went super smooth, but that shows that stuff can be solved. Even in a live situation. Because in the end everything runs as it should! And if we can fix it… so can you.
Roon – and specifically the Roon server (Roon Core) – can be installed in several ways. It can be run in combination with the entire Roon package. And that package can be installed under Windows or Mac. Or you could run it as a ‘server’ package under Windows, Mac and Linux. Or even on a Synology or Qnap-NAS. You can also install the Roon ‘bridge’ (the playback part) separately under Windows, Mac and Linux. That way it’s sort of an ‘endpoint’.
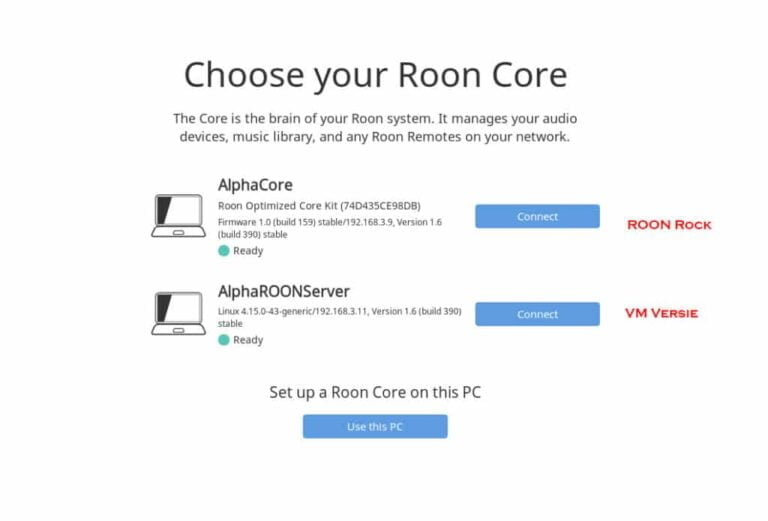
So you should actually see Roon as a software package that as a whole has three functions: playback, server and control. These components can also be installed separately: Core (server), Remote (control) and Bridge (playback).
Roon Rock
In the video, we’ll focus on Roon Rock. This mini-package can be installed on a NUC. NUC stands for Next Unit of Computing. It is an Intel platform. In fact, it is just a shrunk version of a mini-pc. So even smaller than mini-ITX. NUC computers also have an Intel Celeron, Pentium, i3, i5, i7 and even a Core i9. Now it’s overkill for Roon Rock to go for a Core i9. In many cases, a Core i3 is enough. A Celeron J1900 series is a bit weak, but that also works with two zones and a large library. We do on the other hand recommend an i3 in many cases. Put a fast SSD and 4 or 8GB ram in it and everything just runs fine and snappy.
Steps
The steps to install Roon Rock on a computer are as follows:
- Provide a NUC (or any other PC. Could be Intel and AMD… we tested both)
- At least 64GB hdd (much better is an ssd). At least 4GB RAM. 2GB will crash in a lot of cases.
- Have a USB stick at hand (1GB is enough)
- Download a Roon Rock image
- Download Etcher
- Create USB installation medium with Etcher
- Now start the NUC / PC and enter the bios (Often with the DEL key)
- First make sure you change UEFI in the boot options to Legacy.
- The usb stick will NOT boot in UEFI mode!
- One method to do it is to open the boot menu (often F12) during boot. After that you can choose the usb stick.
- Set the rest of the bios to system default (optimized defaults)
- The usb stick will NOT boot in UEFI mode!
- When the usb-stick starts, you can start the installation.
After installing, remove the USB stick and press enter to restart. After the restart Roon Rock will display an ip-address. If this is not the case, check the network settings. You can login by entering the IP-address (192.168.1.XXX) in a browser. You can than set some other stuff, rebout, restart, re-install the image, et cetera.
Configure Roon
To set up the Roon Rock NUC, it is convenient to install the Roon package on a laptop or PC. This way you can set up everything a lot faster. It is also possible to do it with a tablet or phone. But the typing goes a bit easier with a laptop or desktop PC.
The 2nd part of the setup is a few steps: specify the location of your music (network, internal ssd or usb drive for example). Then the online services (Tidal and Qobuz). When that is done, you can set-up which zones (endpoints) you would like to use. When that’s done, you’re actually ready to play music!
We’ll walk you through all these things in the Live Stream below!
Live Stream Replay – Installing Roon Rock

